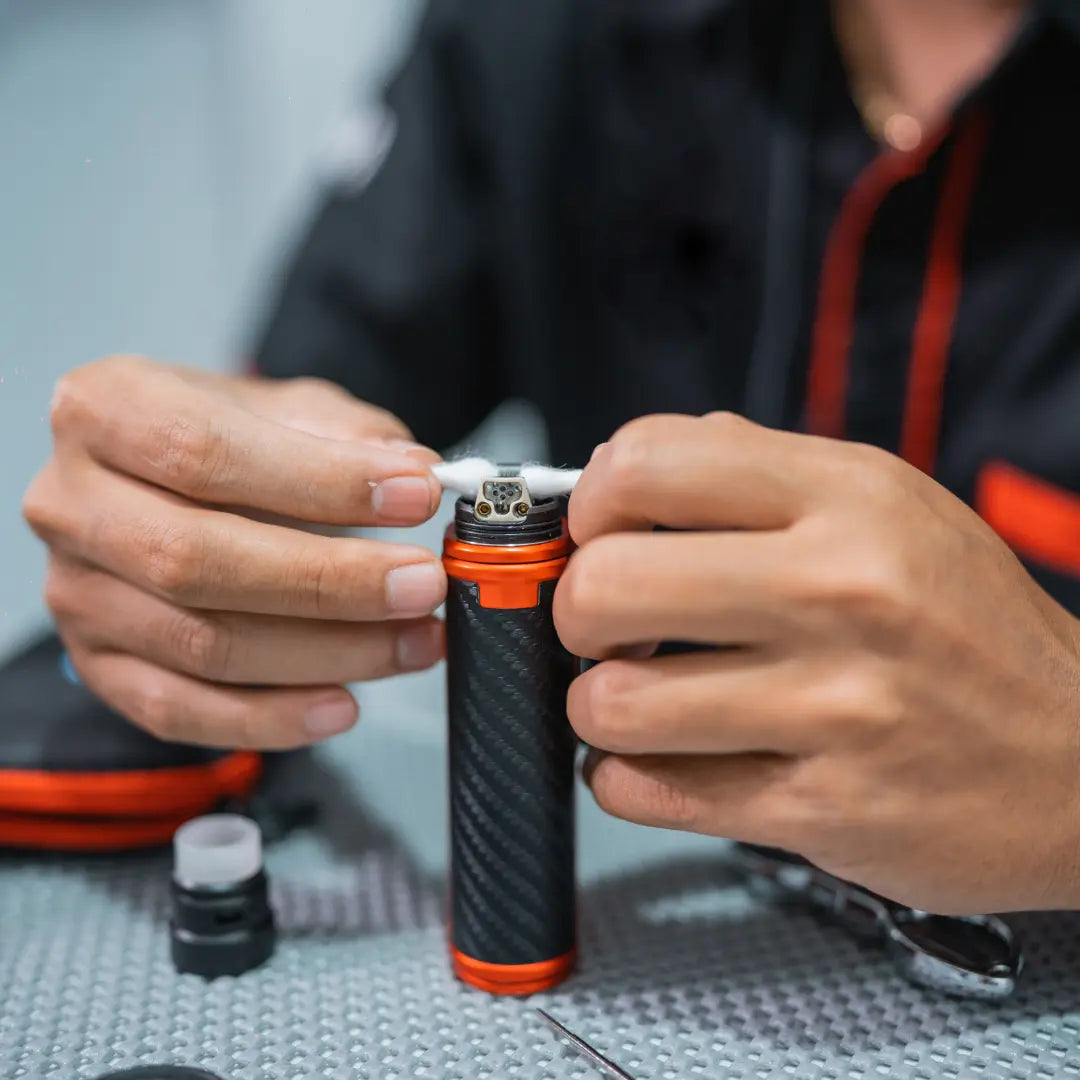
How to Add Coils to Your Vape Kit: A Step-by-Step Guide
Share
Vaping enthusiasts know that coils play a pivotal role in achieving a satisfying vaping experience. Whether you're new to vaping or just trying to master coil replacement, this step-by-step guide will walk you through the process of adding coils to your vape kit.

What You'll Need:
- Your Vape Kit
- Replacement Coils
- Tweezers (Optional)
- Cotton (Optional)
Step 1: Gather Your Materials
Before you start, make sure you have your vape kit, replacement coils, and any additional tools you might need, such as tweezers or cotton for wicking.
Step 2: Prepare Your Vape Kit
If your vape kit has a removable tank, detach it from the device. This will give you easier access to the coil housing.
Step 3: Remove the Old Coil
If you're replacing an old coil, gently unscrew it counter clockwise from the base of the tank. Use tweezers if needed, being careful not to damage any of the surrounding parts.
Step 4: Prime the New Coil (Optional)
For optimal flavour and vapour production, it's recommended to prime your new coil. Drip a few drops of e-liquid onto the cotton-wicking ports of the coil to saturate them. This prevents dry hits and helps the coil last longer.
Step 5: Insert the New Coil
Screw the new coil into the base of the tank, clockwise. Make sure it's snug but not over-tightened to avoid damaging the threading.
Step 6: Assemble Your Vape Kit
Reattach the tank to your vape device. Ensure all parts are properly connected and secure.
Step 7: Fill the Tank
If your tank is now empty, fill it with your preferred e-liquid. Allow the tank to sit for a few minutes to ensure the coil is thoroughly saturated.
Step 8: Start Vaping
Power on your vape device and start vaping at a lower wattage to break in the new coil gradually. As you vape, gradually increase the wattage to your preferred setting.
Pro Tip: Keep an eye on your e-liquid levels to avoid vaping on an empty tank, which could lead to dry hits and potentially damage the coil.
Exploring Different Types of Vape Kits and Pods
Some devices use replacement pods or pre-filled pods as a convenient way to enjoy vaping. These pods are designed to fit onto pod devices, offering an easy and mess-free experience.
-
Replacement Pods: Explore the Replacement Pods Collection for pod devices that allow you to switch out pods with different flavours or nicotine strengths.
-
Pre-Filled Pods: Discover the Prefilled Pods Collection for pod kits that come with pre-filled pods. These pods are convenient and ready to use right out of the box.
Conclusion
Adding coils to your vape kit is a fundamental skill that can enhance your vaping experience. With this step-by-step guide, you'll be able to confidently replace coils and explore different vaping options. Remember, practice makes perfect, and once you've mastered coil replacement, you'll have greater control over your vaping sessions.
Shop Coils Today!
For a wide selection of replacement coils, vape kits, and pod options, explore the Coils Collection, Vape Kits Collection, and Mod Vape Kits Collection at Sweet Geez Vapes.
Disclaimer: This guide provides general information. Refer to product manuals for specific instructions and guidelines.


